
How to make Spoon Butter for Conditioning Wood
How to make Spoon Butter for Conditioning Wood
Spoon butter, Wood butter, Cutting board cream or Wood conditioner: whatever you want to call it, this DIY beeswax based wood treatment works wonders for keeping your wood utensils in good condition, preventing cracking and repelling water.

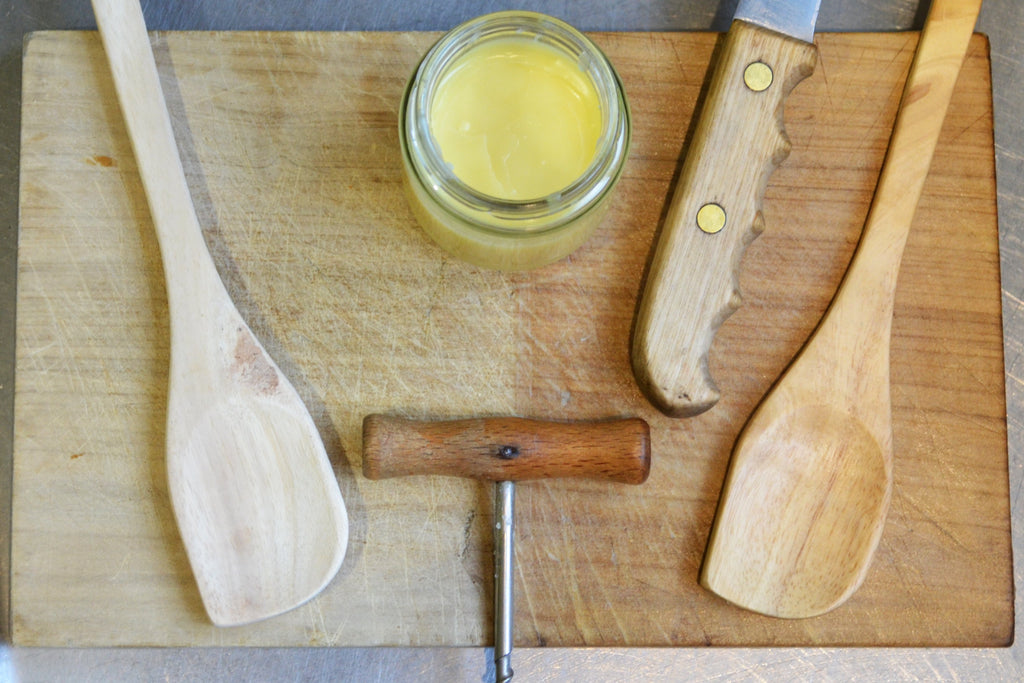
Before on the left, after on the right. The beeswax and oil combination
in our spoon butter brings out the beautiful grain and honey tones
of even our light pine chopping board and spoon.
Many commercial products use a blend of beeswax and mineral oil - but I prefer to keep petroleum byproducts like mineral oil about as far away from my food as I can.
Beeswax on its own is wonderful for wood and repels water, but it is naturally very hard and brittle, and with a melting point of 62 degrees celsius, it takes some work to apply. So we use a food-safe oil to cut the beeswax with, and turn it into a smooth, easy to apply cream. There are many oils you can use, but the key attributes we're looking for is something food safe, with a neutral aroma and taste, a low melting point, affordable and easily available. Coconut oil fits the bill near perfectly, and with a two year shelf life it won't go rancid on your utensils or in storage.
DIY Spoon Butter / Wood Conditioner Recipe
The ratio of beeswax to coconut oil is quite flexible in this recipe - I like 1:3 beeswax: coconut oil, but you could easily go with 1:4 for a softer blend.

Ingredients
33 grams pure beeswax pellets
100 grams coconut oil
To make your Spoon Butter:
Set a heat-proof bowl over a saucepan of gently boiling water to create a double boiler. The bowl should sit above the water and not be in direct contact with it - it's the steam that warms the bowl, and therefore prevents any hotspots or overheating of your oil and wax.

Place your beeswax and coconut oil into the top bowl and stir occasionally as they melt. The coconut oil will melt almost immediately, and the beeswax will take just a few minutes.

Once the beeswax and coconut oils are completely melted and mixed, remove the bowl from the heat and allow it to cool for a few minutes (just to make it safer to handle). Pour spoon butter into a clean, dry jar while still liquid.

Don't waste any - make sure you wipe out the bowl with a cloth and apply it to any wood needing some love.
Clean your bowl with hot soapy water.
To apply Spoon Butter and condition your wooden chopping boards and utensils
Make sure your wooden spoons, cutting boards and other utensils are clean and completely dry before applying treatment.
Allow the spoon butter to set up enough to handle, and then apply generously too your wooden spoons, cutting boards, knife handles and any other wood utensils, making sure to cover all surfaces. Use a dry cloth or your fingertips to apply. Rub into any joints or cracks, and leave items to sit overnight.
If your spoon butter hardens in the jar and becomes difficult to get out, you can scoop it out with a spoon and then apply it with your fingers or a dry cloth - it will quickly soften as you work it. You can also place your jar in the microwave for 30 seconds or so to soften the wax.
The next day, use a soft cloth to buff off any remaining excess. Your utensils should feel smooth with a satiny finish, and should not feel greasy or sticky. The conditioning treatment also brings out the beautiful natural colours in the wood, showing off the grain.
Properly conditioned wood utensils last much longer, resisting cracking and won't absorb water or food stains.
Reapply as often as needed.
Storing your Spoon Butter
Simply store in a lidded jar out of direct sunlight.
Beeswax is a stable product that doesn't degrade over time, so the shelf-life of your spoon butter will depend on the 'best before' date of your chosen oil. Coconut oil is one of the more stable oils, with a lifespan of about two years, so is a great choice for a product such as this wood conditioner that you will tend to use occasionally, however you should choose another food-safe oil if allergies are a concern.
If you are using a shorter shelf-life oil, adjust the recipe to make a smaller amount so you can use it up in a shorter period of time.
Don't forget to put a label on your jar, including your 'best before' date.